

How To Create Smoke Photoshop
How to Make a Smoke Brush in Photoshop
Calculation fume to an prototype is a great fashion to add together both atmosphere and drama. Luckily, they are non only like shooting fish in a barrel to use, merely likewise incredibly easy to create! Nosotros'll be creating 2 different fume brushes in this fume brush Photoshop tutorial.
The start volition exist made using an image of actual smoke, while the second will exist created and painted past manus! No painting skills are required.
Learning how to make a smoke castor in Photoshop will save you lot both time and money because once you can make 1 castor, you can create equally many more as yous'd similar. Permit'southward get started!
- How to Make a Smoke Brush in Photoshop Using an Image
- How to Brand a Smoke Brush in Photoshop from Scratch
- How to Use a Smoke Brush in Photoshop
How to Make a Smoke Brush in Photoshop Using an Epitome
Stride ane: Import Smoke Image
Let's showtime creating a fume brush in Photoshop using an already existing photo.
Open a new large Document in Photoshop. Setting the canvas to black can make masking things out easier in the future.
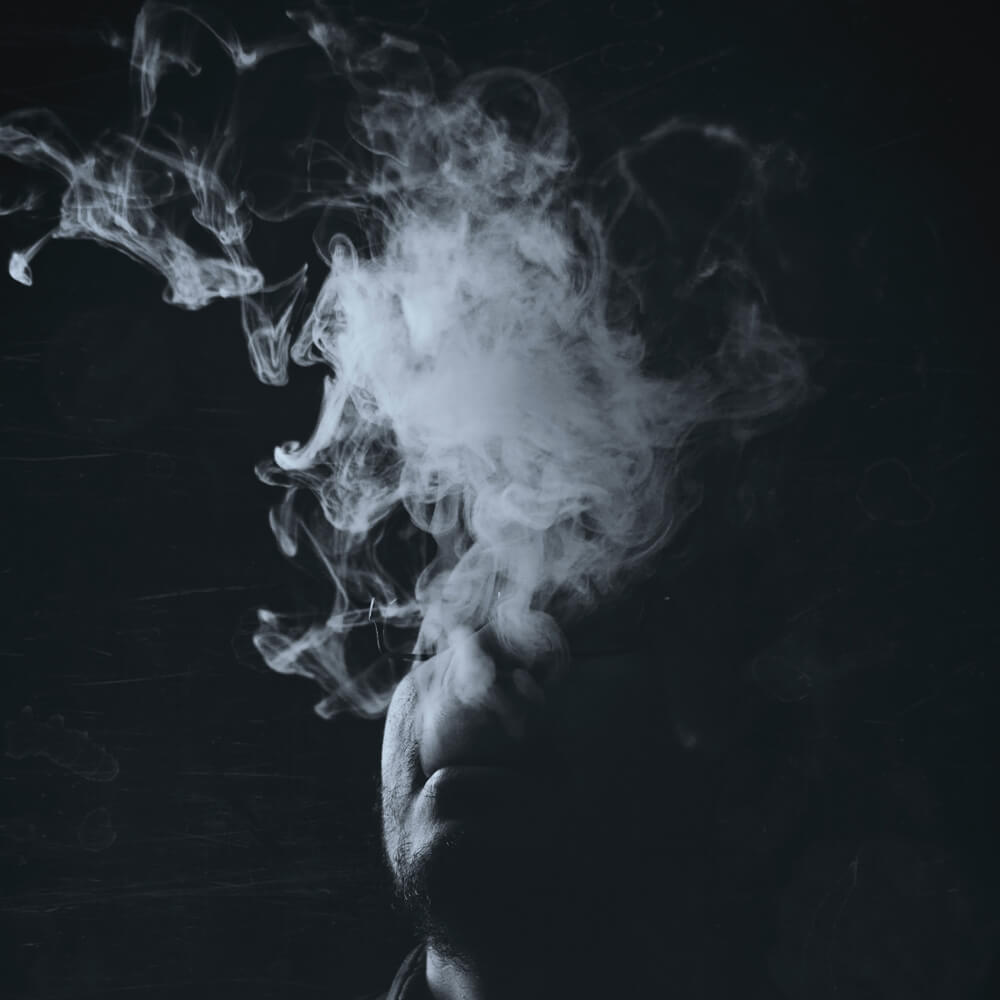
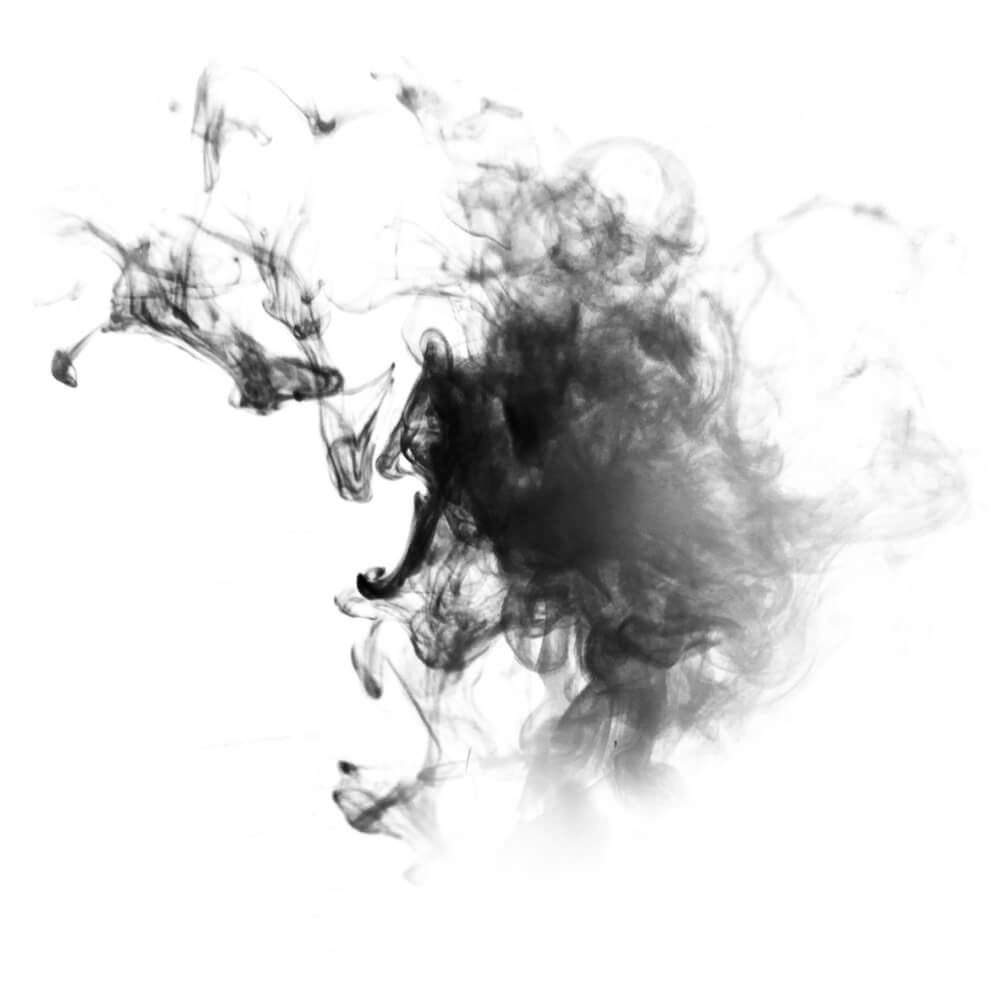
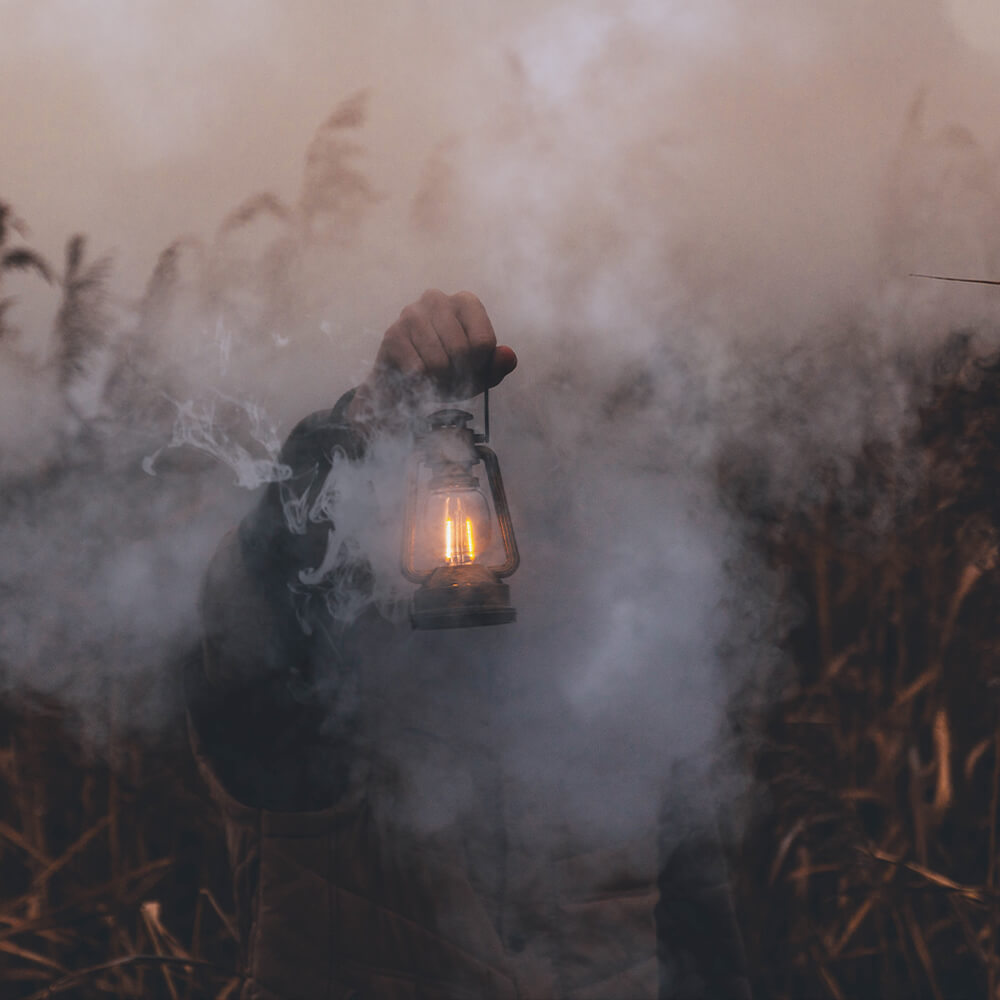
Elevate and drop an prototype of brighter smoke with a black background onto the canvas. Any fume will work as long as the smoke has a significant amount of contrast from its groundwork. I'll exist using this image from Unsplash.
Step 2: Turn the Deject Grayscale
Next, create a white-to-black Gradient Map aligning layer to a higher place the smoke layer.
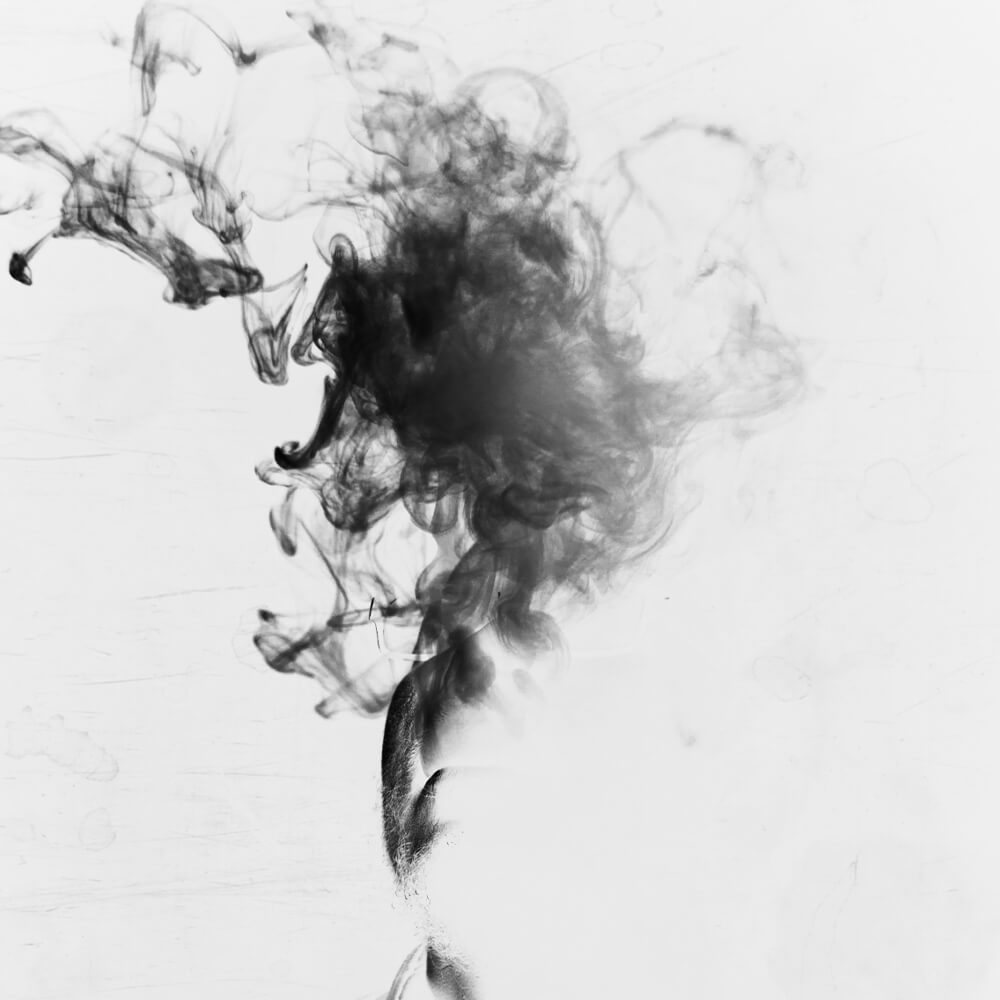
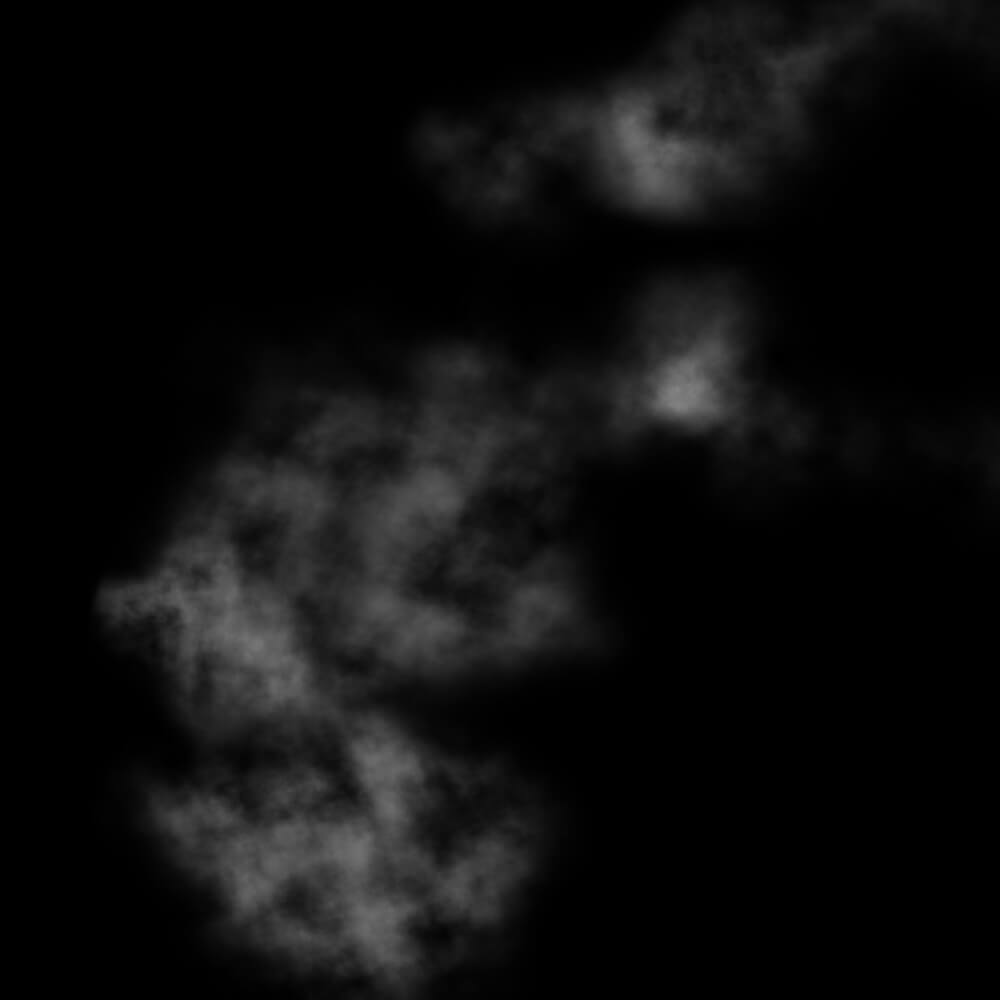
We want to invert the image, making the fume appear black and the groundwork white.
When creating a brush, the portion of the image that is black will be the shape of the brush, while everything white will appear transparent.
Step 3: Adjust the Contrast
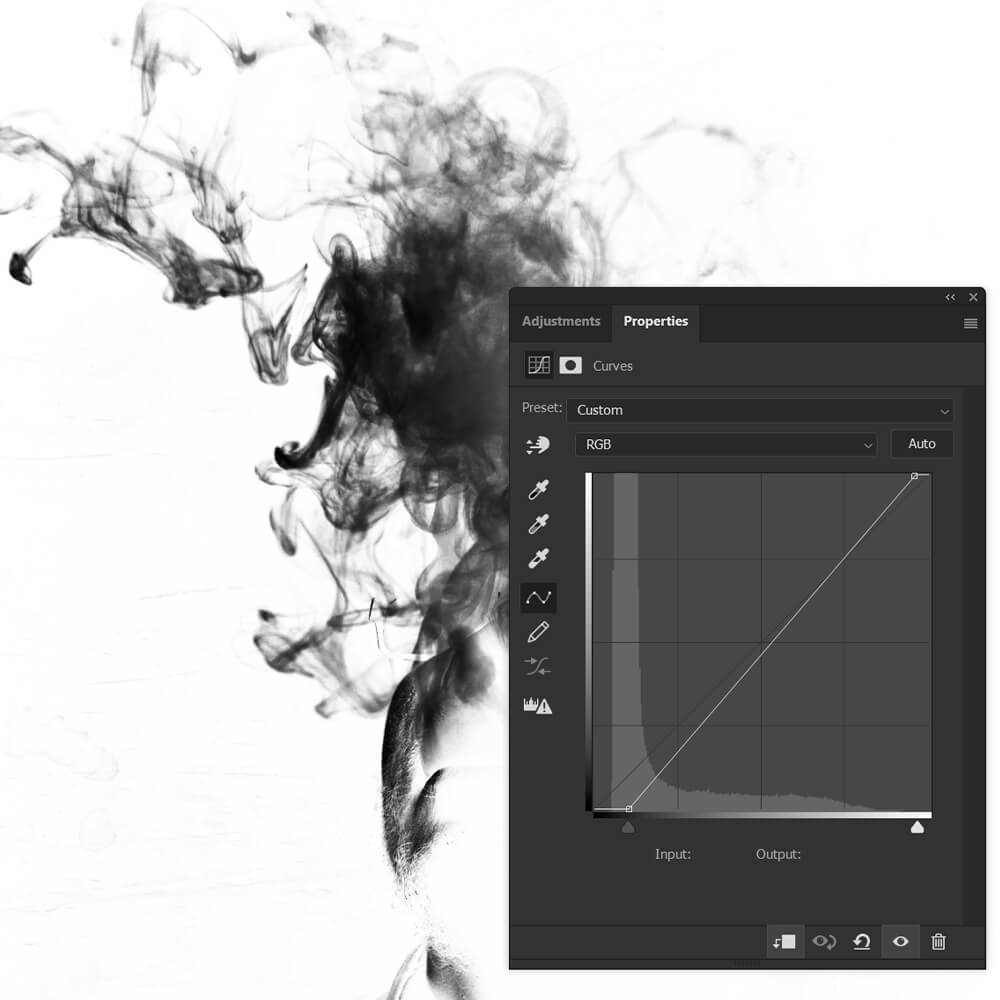
Allow's create a Curves adjustment layer right above the Gradient Map adjustment layer.
We want to increase the image's dissimilarity and adjust its Brightness, turning the fume a deeper black and its groundwork pure white.
Balance the contrast so that the smoke is black, but still has noticeable item. These settings will change from paradigm to image, but you lot tin see my exact curve beneath.
Step 4: Mask any Leftover Background
More likely than not, you lot'll nevertheless accept some leftover groundwork or parts of the smoke where the edges are cutting off.
Let's go back to the Cloud layer and add a Layer Mask to fix this.
Using a soft, circular, black brush, mask away any leftover nighttime spots, imperfections, and harsh edges left in the smoke and its background.
Be careful non to leave any harsh edges. I suggest pulling the smoke layer abroad from the edges of the canvas, so that you can see any edges that might need to be softened.
You can besides mask out any areas of smoke that you don't want to announced in the brush.
Step v: Crop the Sheet
Finish the castor by cropping whatsoever excess canvass, using the Crop tool. Be careful non to overcrop and cut off your smoke. It'southward okay to have a minor buffer of white around the sail' edge.
Step 6: Save and Consign the Castor
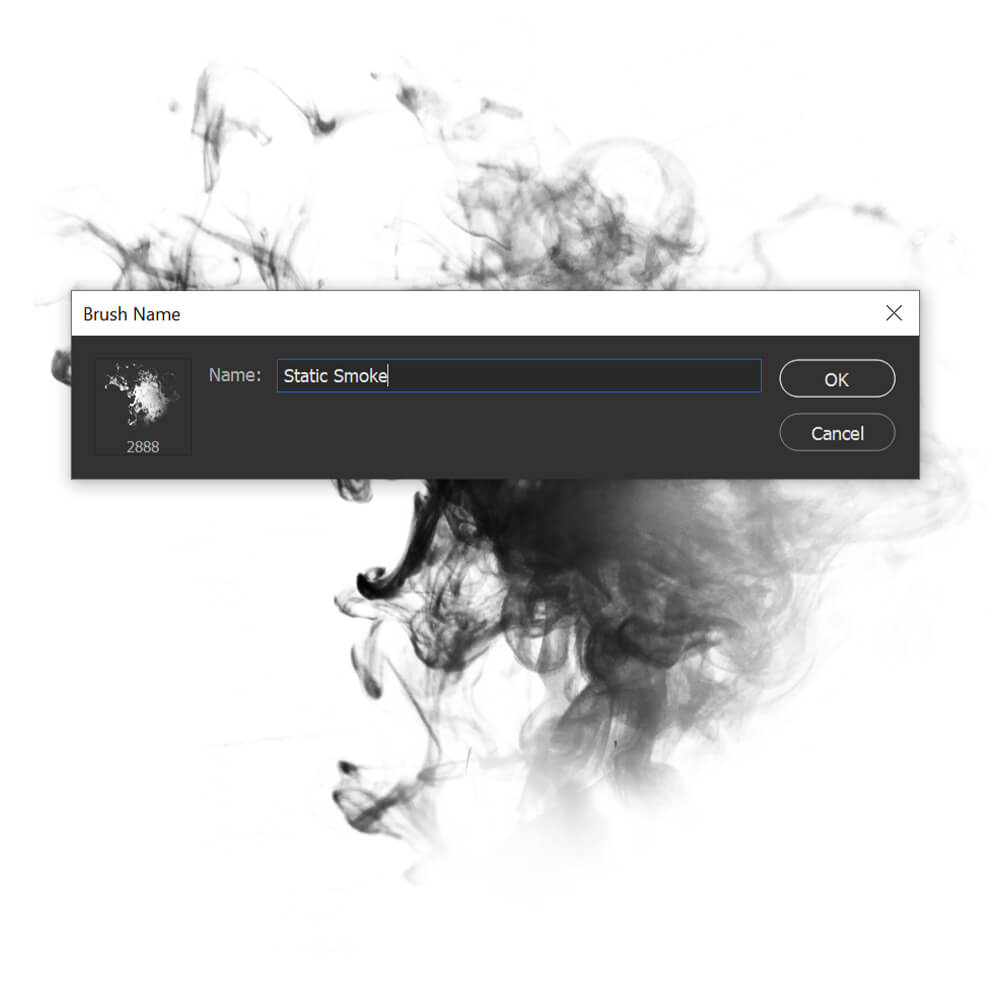
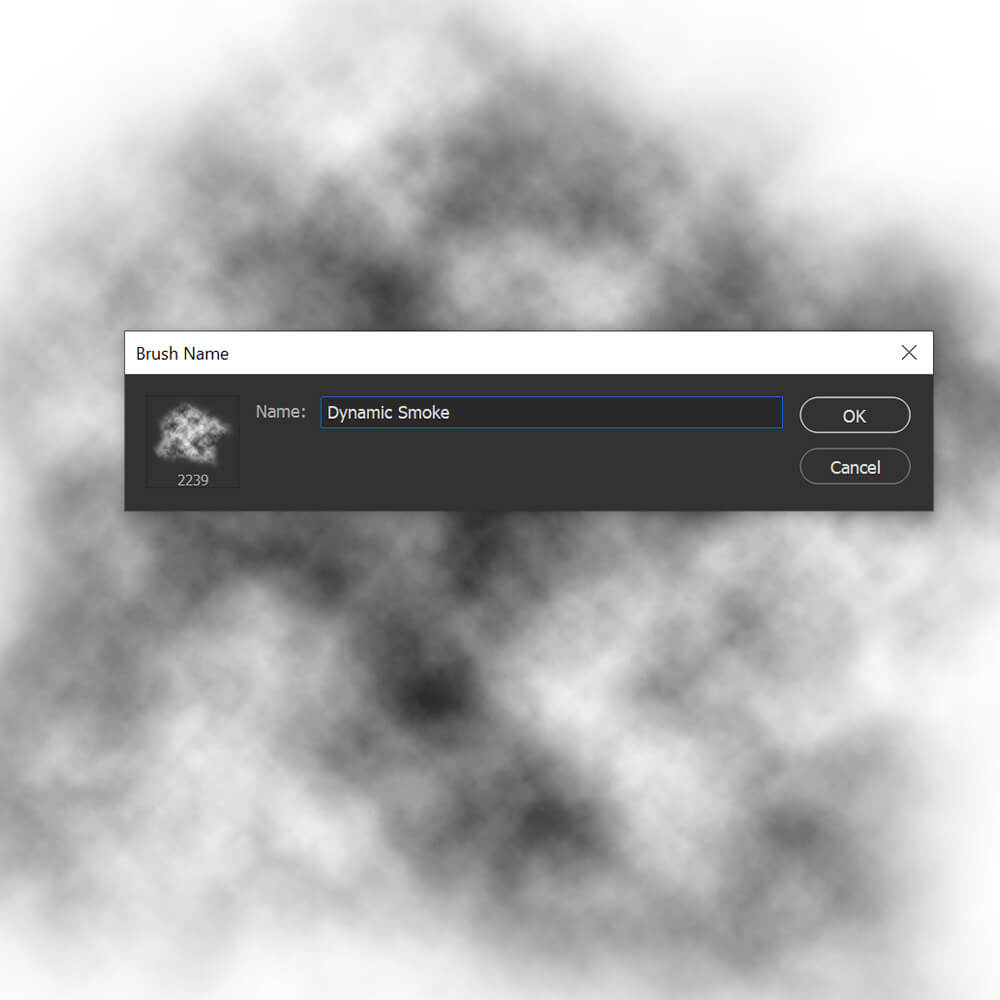
Finally, let'southward get to Edit > Ascertain Brush Preset and name our new brush.
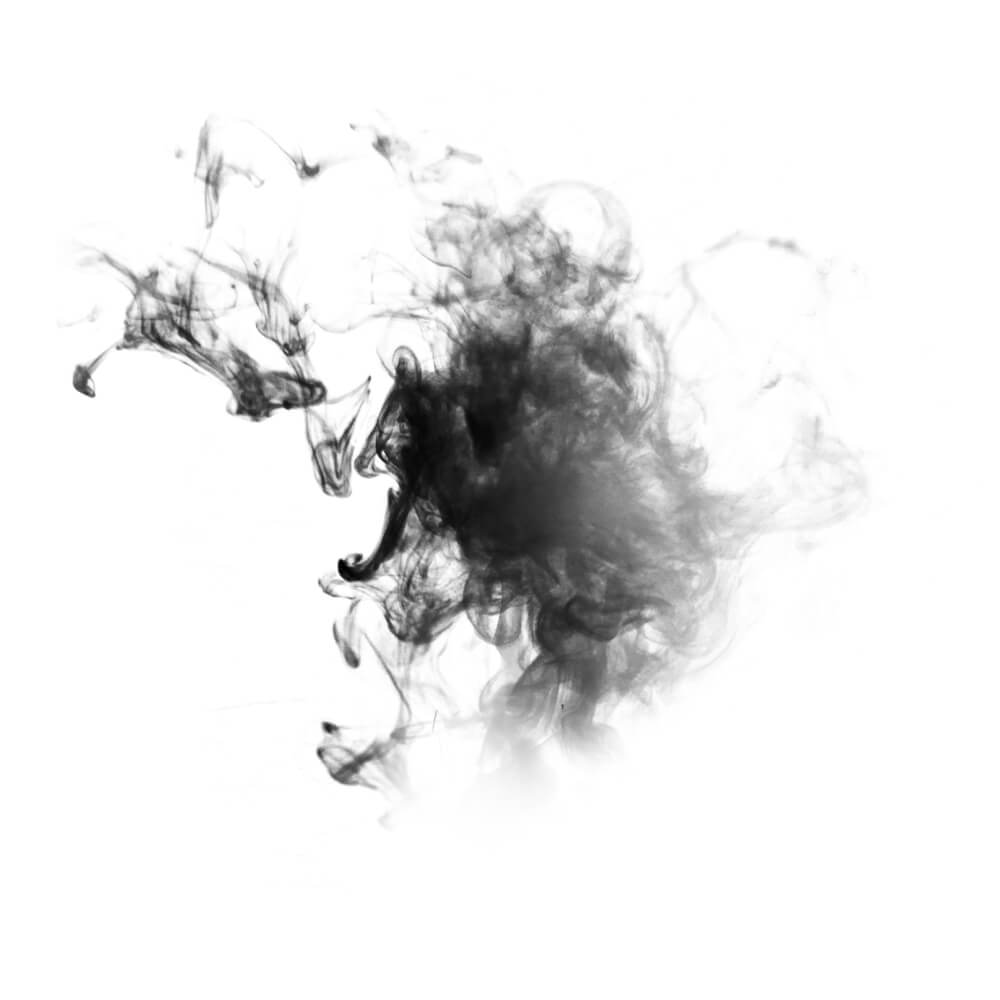
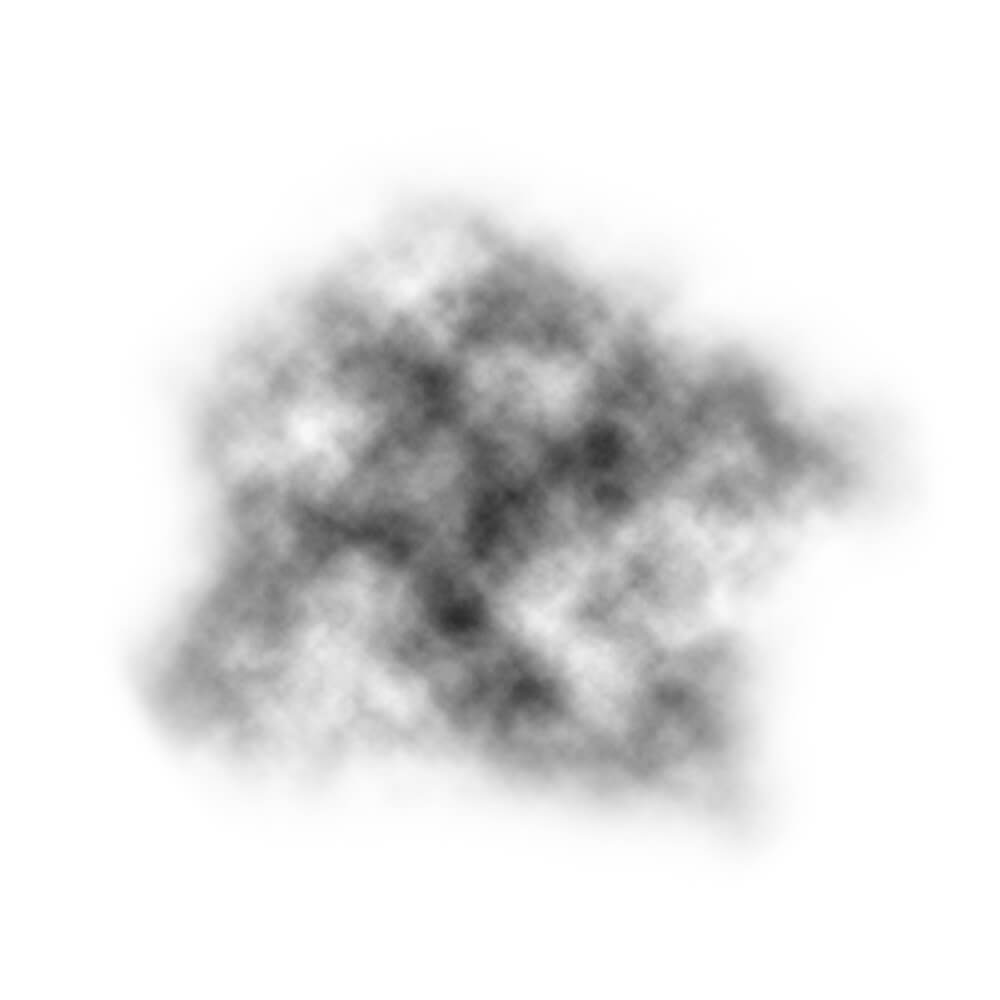
If you only want a single, solid fume brush, then yous're done. Below is our brush with no settings practical. Brushes made from images do very well as static brushes. However, if y'all want a dynamic brush, nosotros will need to adjust the castor's settings.
How to Make a Smoke Brush in Photoshop from Scratch
Step 1: Render Clouds
Side by side, let's await at how to create a fume brush in Photoshop from scratch. Create a new, very large canvass with a white background. Also, make sure your foreground and background colors are set to black and white.
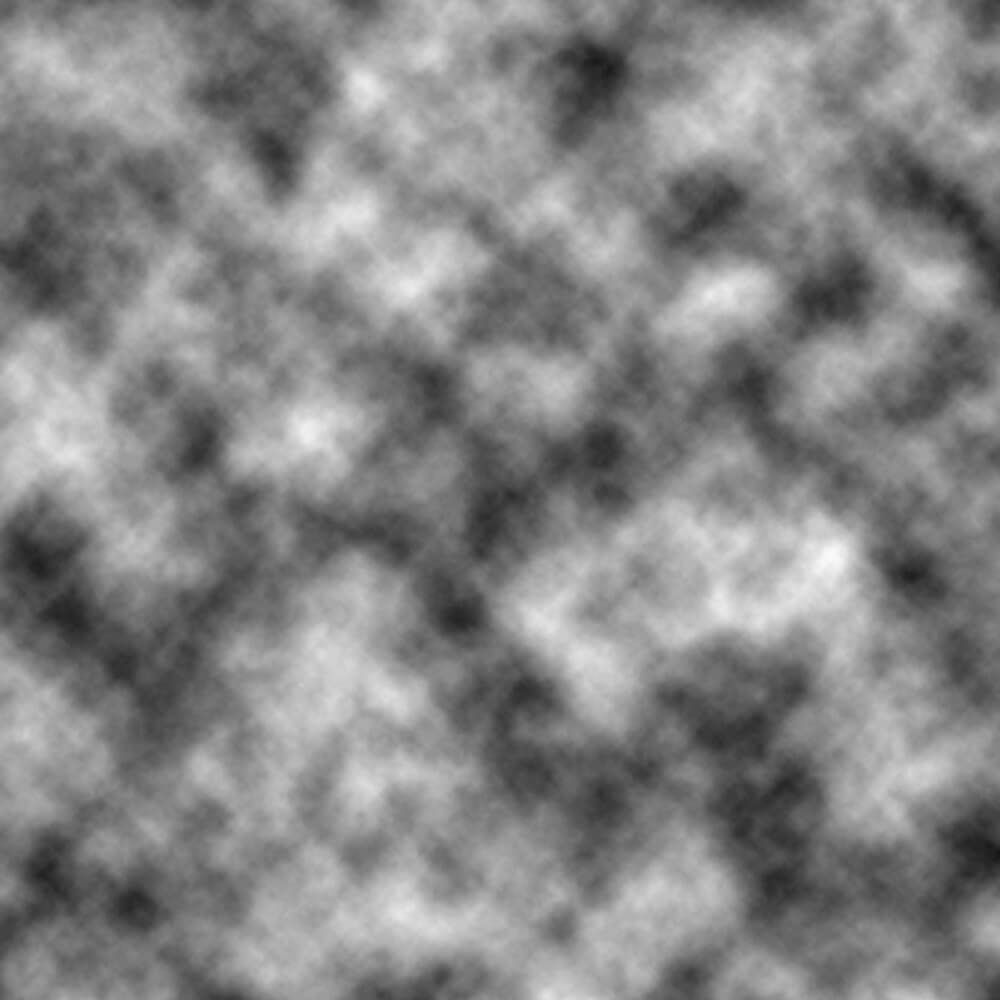
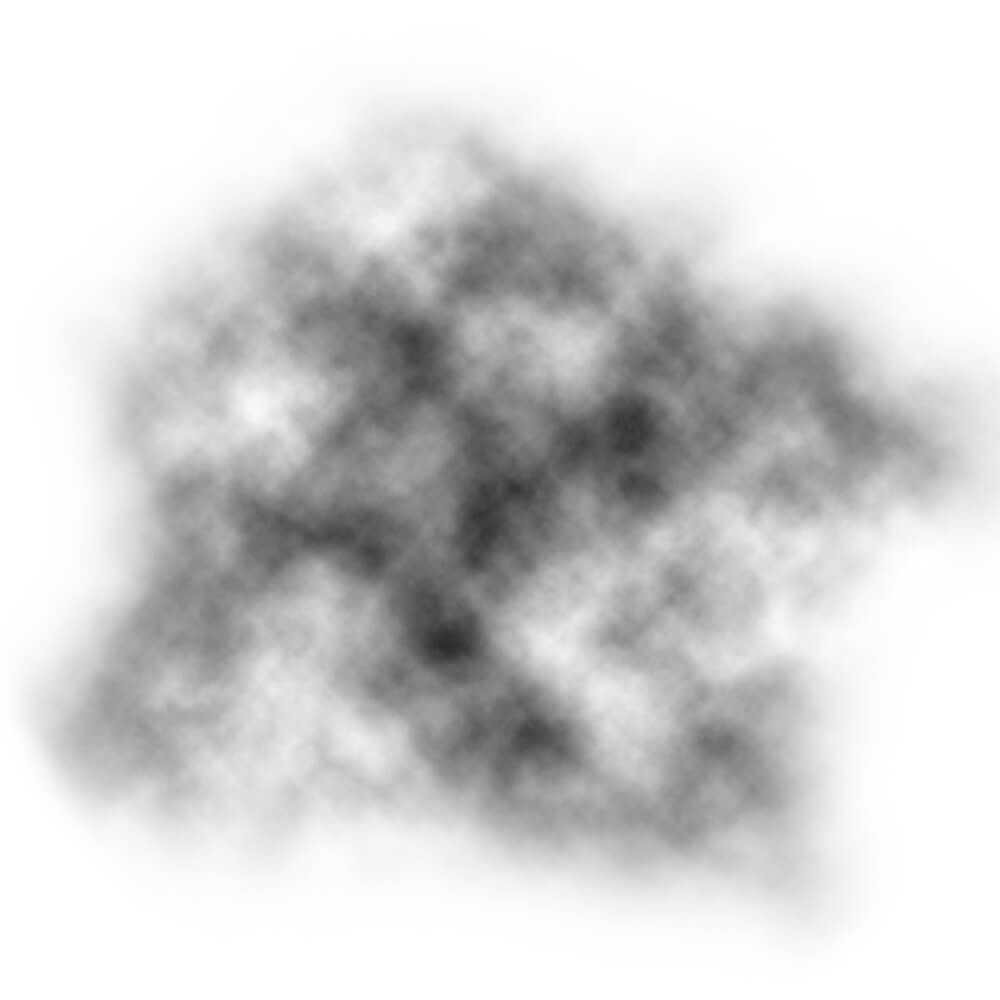
Create a New Layer and so go to Filter > Return > Clouds. You tin can re-render the clouds several times to get dissimilar textures.
Step 2: Mask Clouds
Now, select the Elliptical Marquee tool and ready the Plume to 30 pixels or more. The exact amount will depend on the size of your canvas.
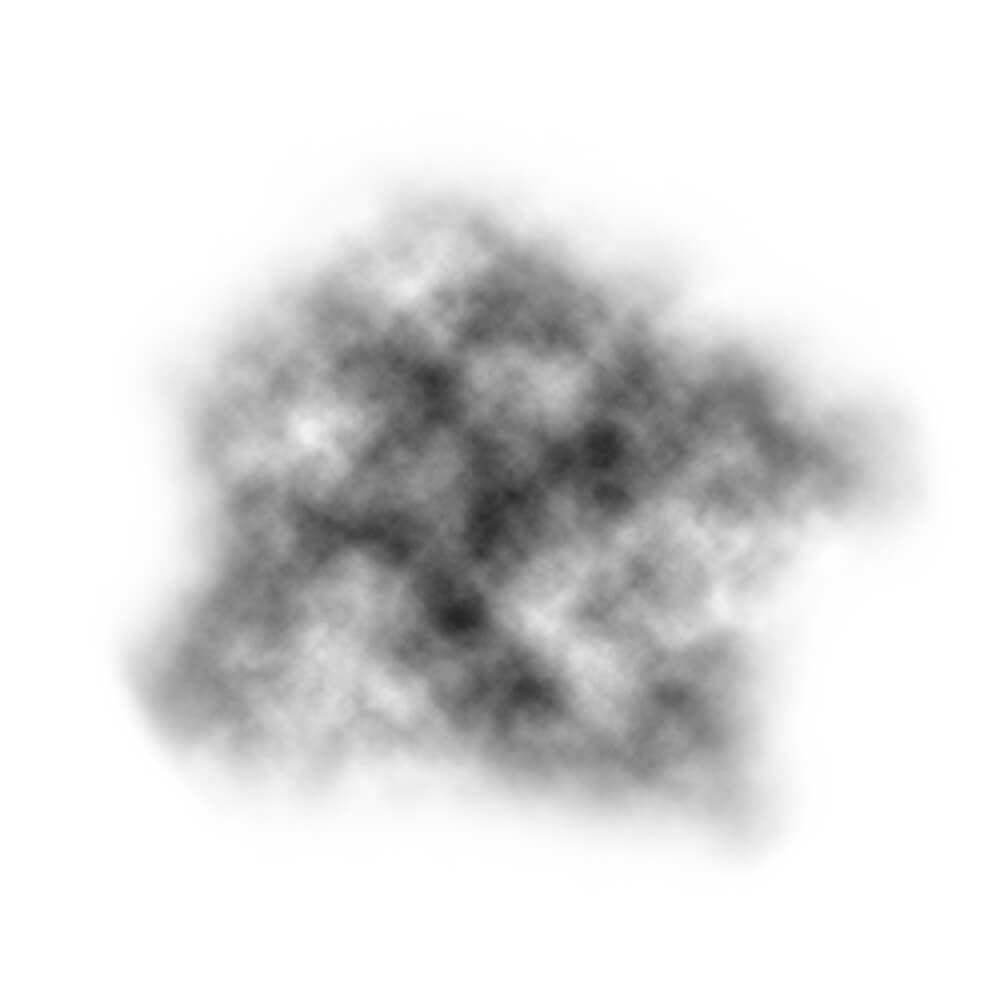
Then, we are going to select a large, soft, circular brush and mask effectually the edges of the rendered clouds. Nosotros desire the edge to be very soft merely uneven.
Y'all tin effort lowering the brush's Flow to xx% or less; that will ensure your edges fade out nicely and give you more control over the shape of the smoke.
Step 3: Adjust Dissimilarity and Brightness
Once we are happy with the shape of the brush, we can adjust both the contrast and effulgence of the smoke base.
Increasing the Dissimilarity will increase the definition of the smoke, and darkening the cloud will increase the density. Y'all tin get the opposite effects past brightening the smoke and adding less contrast.
I'll be using a Brightness/Dissimilarity suit layer, but experience complimentary to choose any tool that adjusts contrast like Curves or Levels.
My exact settings were Brightness: xviii and Contrast: -11.
Footstep four: Crop the Sail
We and so want to stop the brush by cropping any excess canvas using the Crop tool.
Exist careful not to overcrop and cutting off your smoke base of operations. The Crop doesn't have to be exact. In fact, leaving a small trim of white is ideal.
Below is an example of a harsh edge yous want to avoid.
Step five: Salvage and Export the Castor
Like before, go to Edit > Define Brush Preset and create your new brush base of operations. I suggest naming your castor according to whether or not it'south static. Ie. "Deject-Static" or "Cloud-Dynamic."
How to Apply a Smoke Brush in Photoshop
Step i: Edit Smoke Brush Settings
Before using our fume castor, we'll have to accommodate its settings. I'll exist adjusting our custom brush, but y'all tin also endeavor like settings with static brushes made from pre-existing images.
Create a New Document set to black, and then that you can test your brush while you choose your settings.
Open Window > Brush Settings panel, and input the following brush settings.
Brush Tip Shape
Spacing: 73%
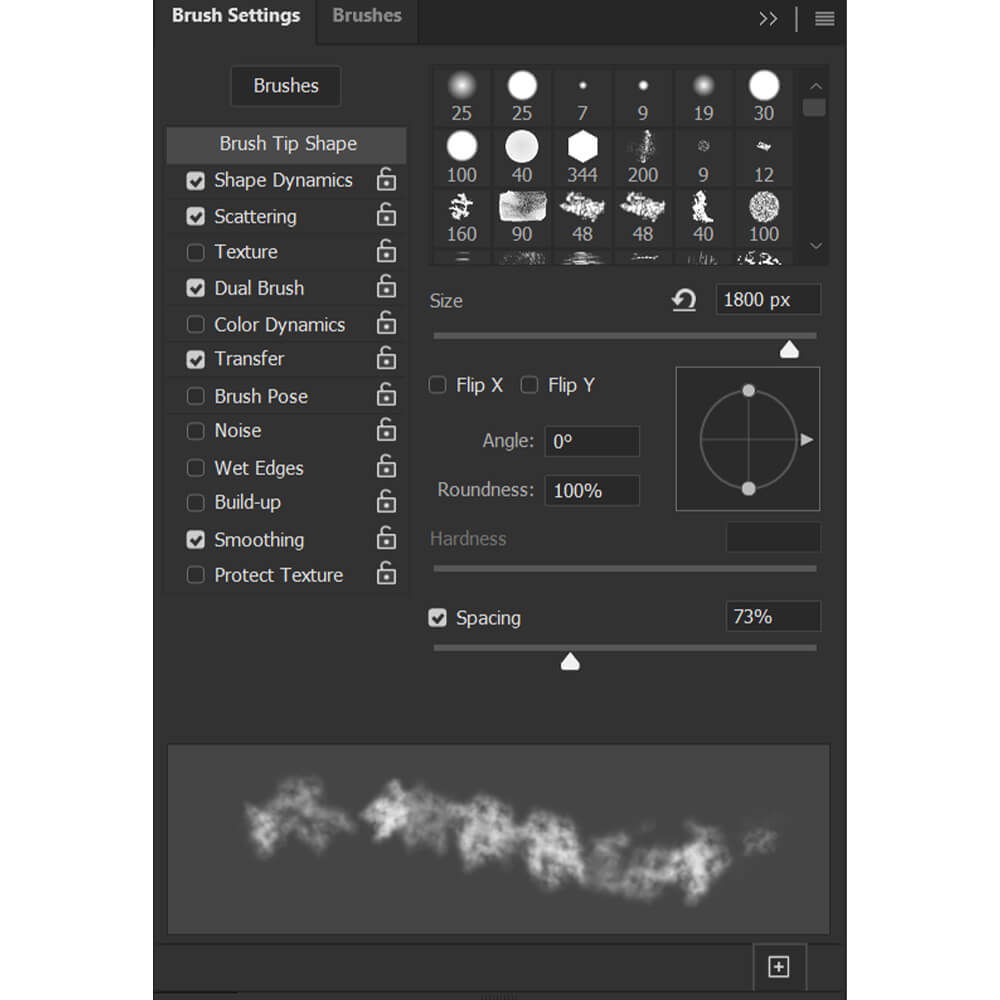
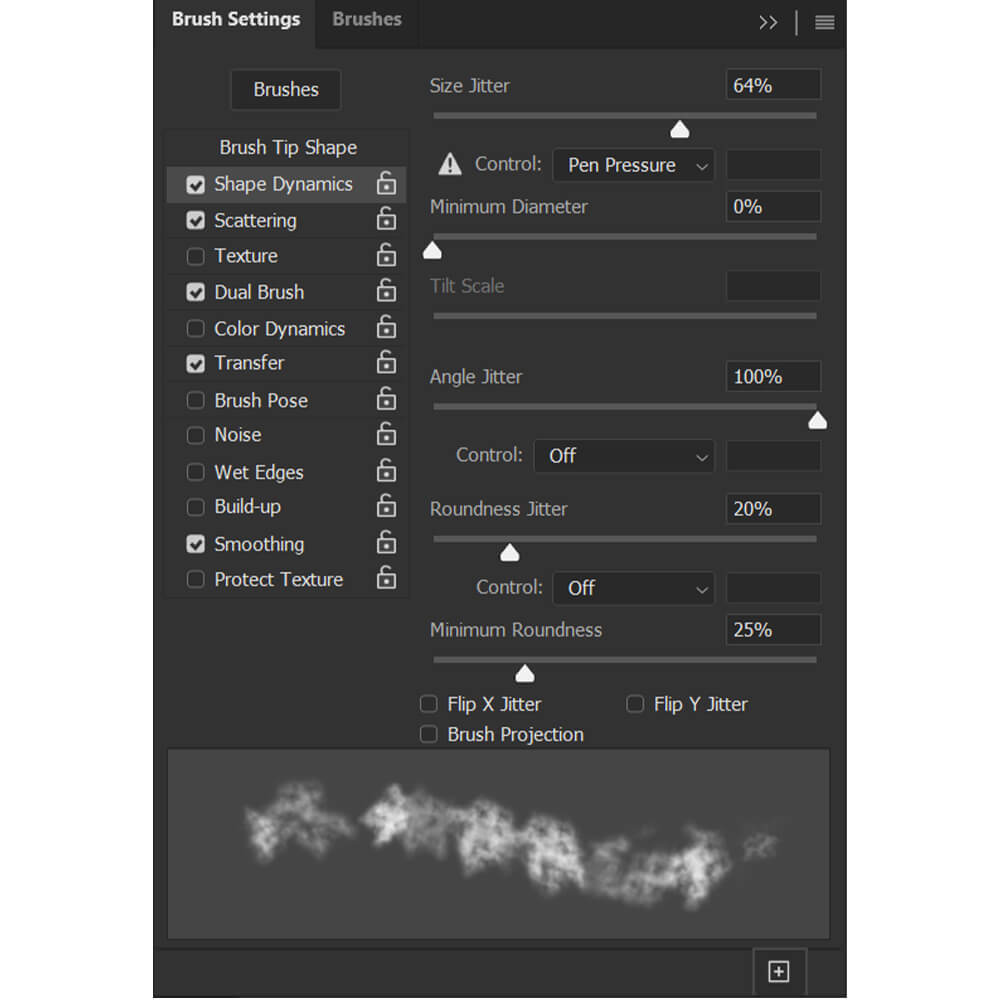
Shape Dynamics
Size Jitter: 65%
Angle Jitter: 100%
Roundness Jitter: 20%
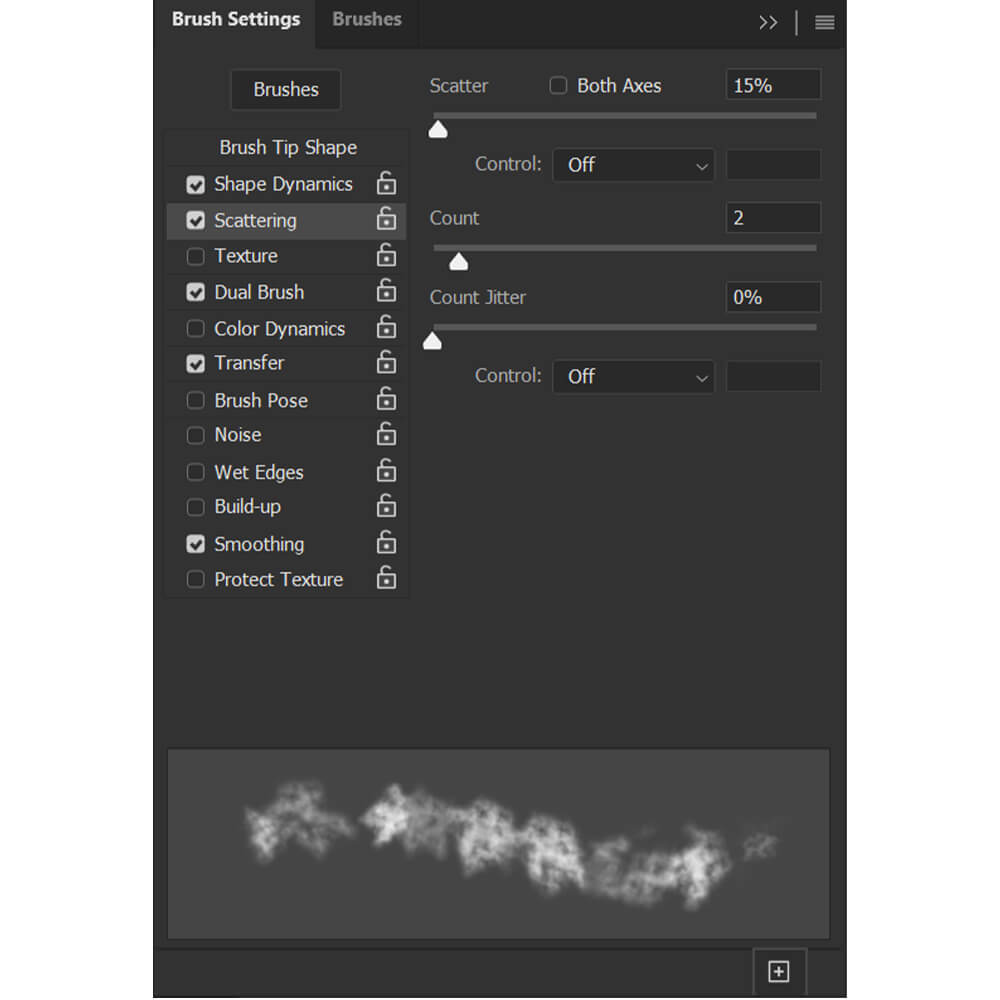
Scattering
Scatter: 15%
Count: ii
Count Jitter: 0%
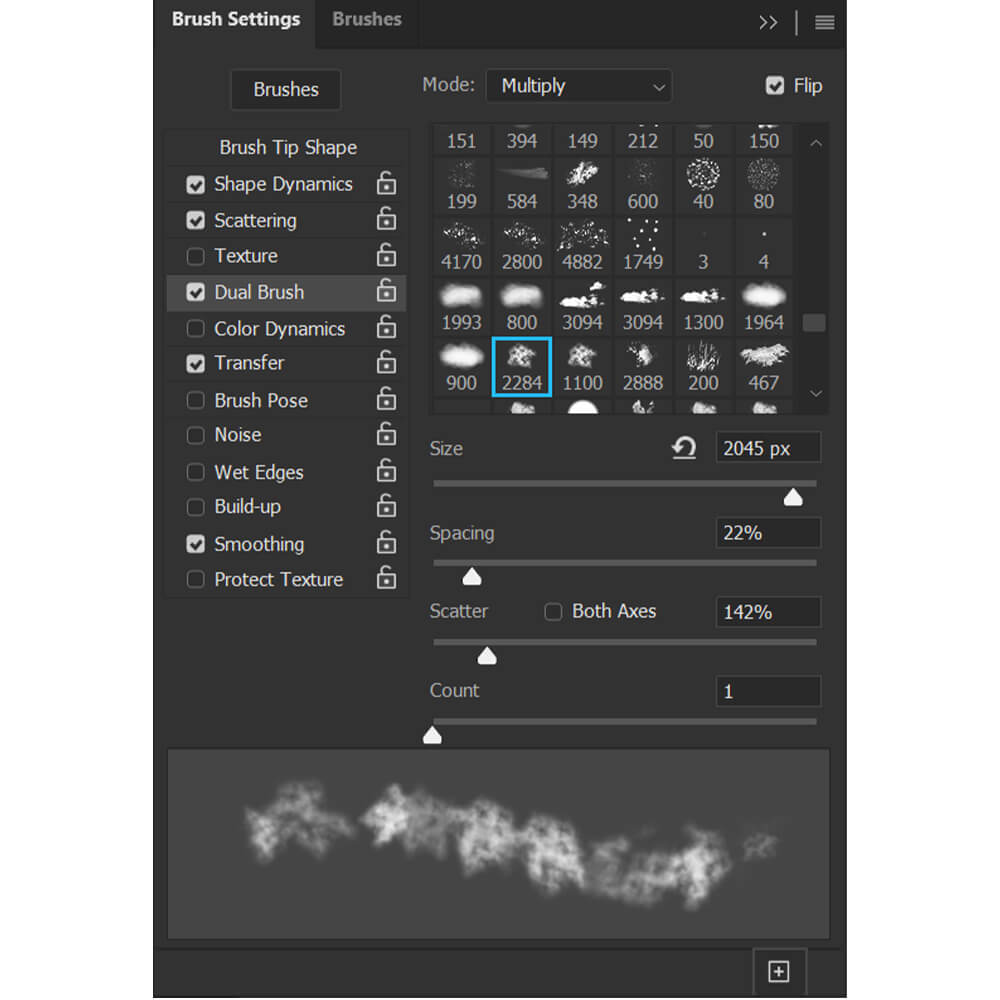
Dual Brush
Mode: Multiply
Cull your custom deject brush from the Brush options
Spacing: 22%
Scatter: 142%
Count: 1
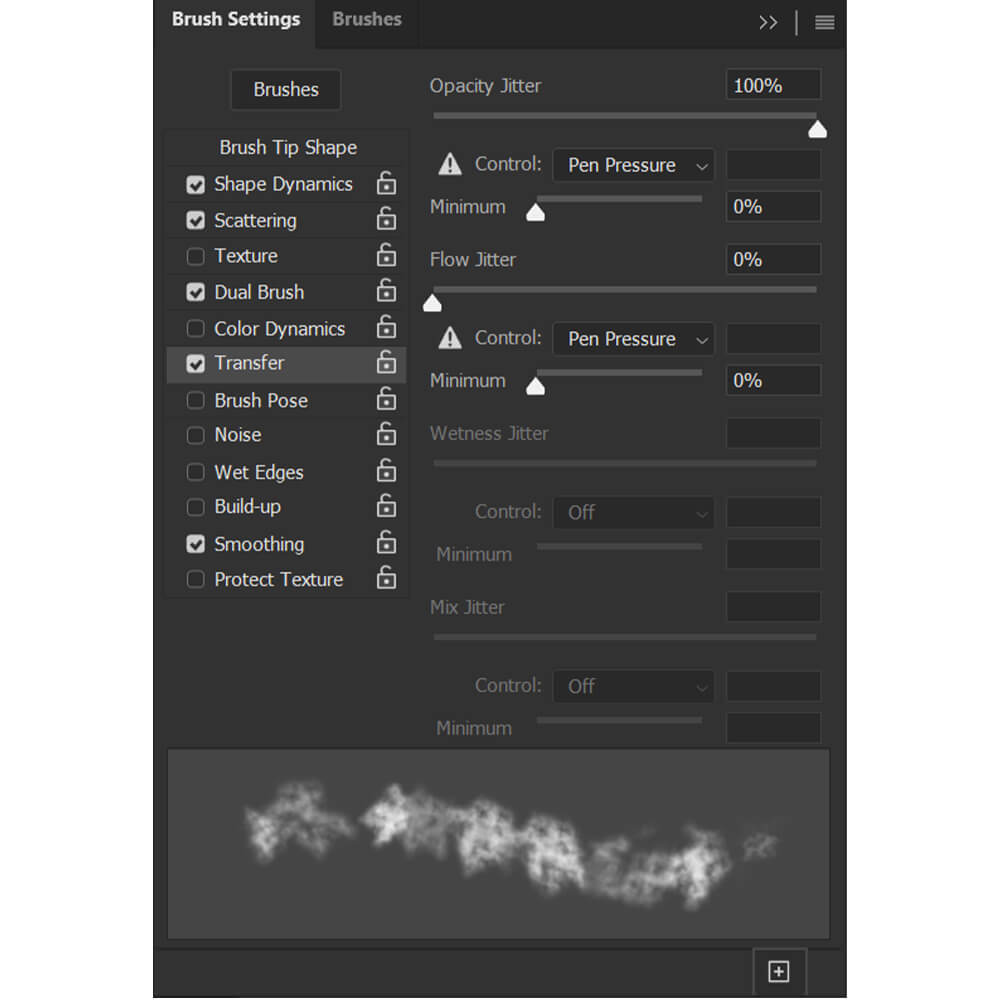
Transfer
Opacity Jitter: 100%
Stride 2: Salvage the New Brush Settings
Make sure and save these settings as a New Brush by clicking the icon of a square located in the bottom right-mitt corner of the Brush Settings console.
Be careful of switching to a new castor before saving. If you choose a different brush, the settings to the current brush will reset, and you'll have to redo them the side by side time y'all select the castor. I always recommend saving multiple brushes with unlike settings, so you lot have a diverseness of other deject furnishings ready to get.
Below is our new castor with the settings applied.
Pace 3: Adjust Castor Catamenia
If you want a dumbo fume effect, you can use the brush as is. However, if you lot want a thinner, more transparent smoke, or if you want to build the fume up more naturally, try lowering the Menses to 20%.
If y'all're using a mouse and not a Pen Tablet with pressure sensitivity, try setting the Period to v% or lower.

Step 4: Paint using the New Fume Brush
Finally, nosotros can pigment using our ii new brushes. Attempt combining the ii brushes for a dramatic fume issue. I like to use static brushes to create the main body of smoke and then add in more than item and temper with the dynamic castor.
Conclusion
That is how to brand a fume castor in Photoshop! Yous can modify the effect of a castor but by adjusting the Brush settings; no need to create a new shape or find multiple smoke images.
Y'all can create and relieve diverse fume brushes to make your own custom brush pack that yous can quickly go to anytime an prototype needs an extra boost of drama or mystery.
Don't forget, smoke brushes are multi-purpose and can be used as fog, grit, or even clouds! Next time you lot're in need of a smokey overlay, effort and brand your own and see how like shooting fish in a barrel information technology really is.
Source: https://www.designbombs.com/how-to-make-a-smoke-brush-in-photoshop/
Posted by: selfridgehatilight1943.blogspot.com
0 Response to "How To Create Smoke Photoshop"
Post a Comment